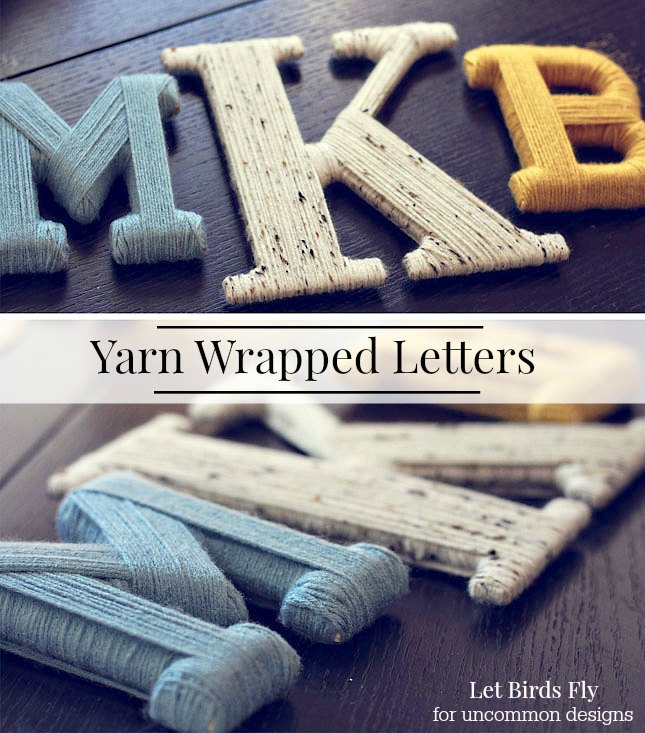
It is Tuesday again and time for another trade-off! We are so thrilled to have Bailey from Let Birds Fly here today to share how to make her fabulous Yarn Wrapped Letters!
Hello, Uncommon readers! I’m Bailey, from Let Birds Fly. I’m very excited to swap places with Bonnie and Trish today. I bet you’ve been bombarded by the yarn-wrapped trend already, but that’s okay with me! I love yarn! Here’s my famous (riiiight) tutorial on my awesome yarn-wrapped letters. Hope you enjoy!
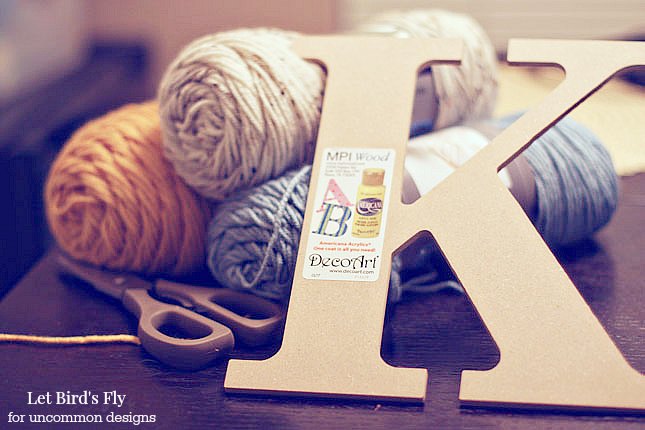
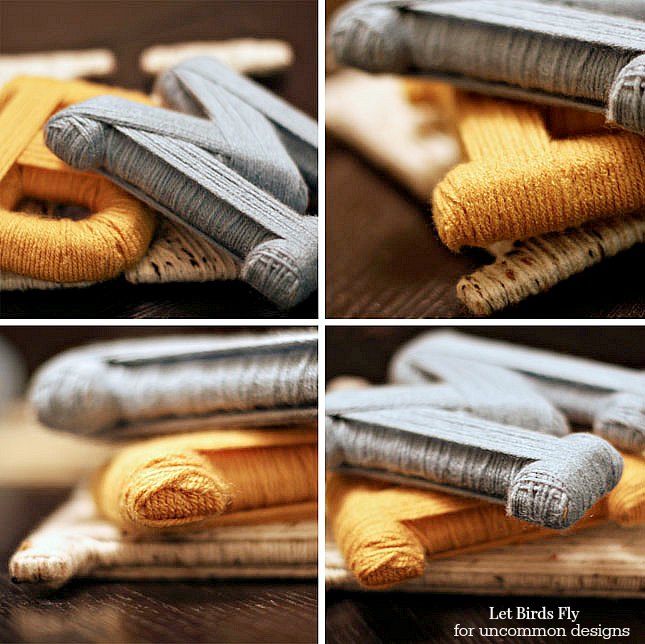
I’ve had these block letters for a while (mine and my husbands initials), but i didn’t know what i wanted to do with them. I was about to resort to painting (which is fine, i just wanted to try something different), but i’ve been seeing on different blogs the popularity of yarn, including simply wrapping things in yarn. Which is FANTASTIC! I had yarn in the house, so that’s what i decided to do. hope you like it!
- wooden block letters
- yarn in colors of choice
- scissors
Directions:

(these aren’t really step-by-step directions, but more like tips and guidelines.)
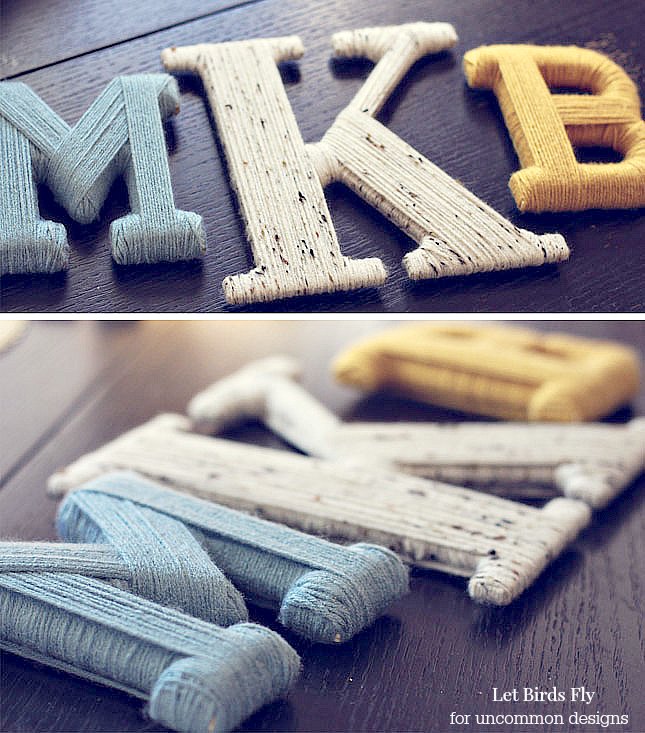
1. Begin wrapping the letter with the yarn. my recommendation is to wrap horizontally at first. (though really you can do it any way you want!) and unless you have to wrap a letter with a hole (Bs, Os, Qs, As, Ps, Ds, Rs, etc) you don’t need to cut a particular length of yarn.
2. Tackle the more difficult areas first (my ex: the middle part of the K). It doesn’t have to look pretty in the beginning.
3. Keep wrapping, and make sure the “uglies” (where you have to criss-cross to get to other parts of the letter) are on the back side.
4. Make sure you cover every single bit of the letter, even the sides.
5. When you’re done wrapping horizontally, start wrapping over that vertically. you don’t have to, though, this is just how i do it. I learned that i like to wrap the letters in the direction that i would write them. does that make sense?
6. On the back, tie off your yarn (using some of the already wrapped yarn) and snip off the extra.
You’re done!
Now you can decorate with your masterpiece, add embellishments, use them as tools to help your child learn his ABCs, or whatever!
Here’s what i did with mine:
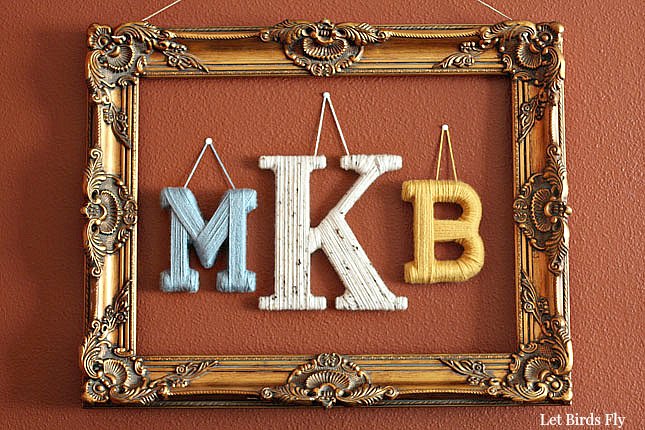
I found this gaudy frame at hobby lobby for half off, and had to get it.
Great thing about it is i can use it for decorating AND as a photography prop!
Happy Crafting!

Are those not the most elegant yarn wrapped letters you have ever seen? We followed her tutorial and made our own Halloween Yarn Wrapped Letters….
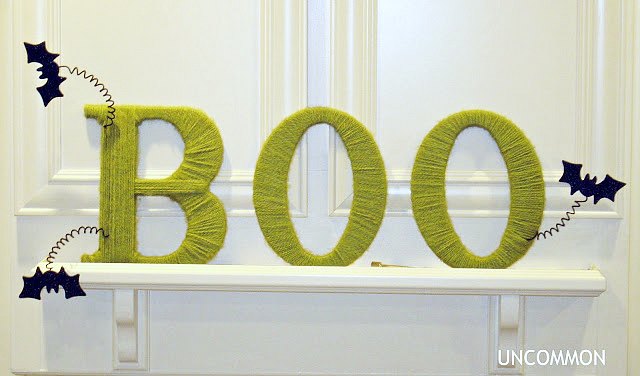
Aren’t the “BOO” tiful!
Thanks Bailey! You can find Bailey and more of her fantastic projects on her blog, Let Birds Fly!
Trish Flake
Latest posts by Trish Flake (see all)
- Easy Leopard Painted Pumpkin - October 18, 2021
- Embroidered Swedish Dishcloths - May 3, 2020
- Easter Egg Decorating Party - March 21, 2020
Leave a Reply